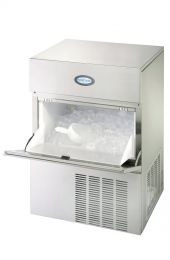
How to clean an ice machine
Posted On 7th June 2017
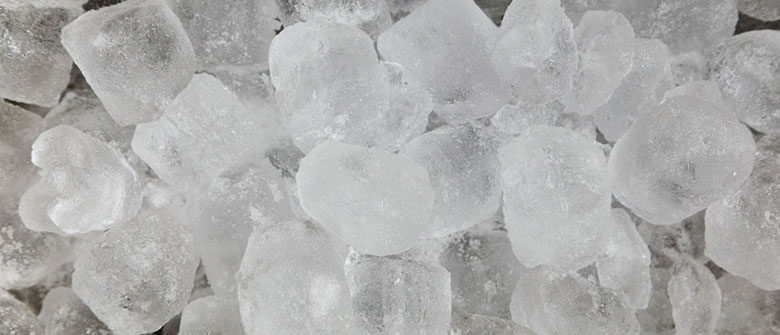
Bad ice can be the difference between sickness and health, it’s not just about the taste of your cold drinks, that’s why it’s an integral part of a proper hygiene procedure when using a commercial ice maker or ice machine.
If you’ve been wondering how to clean an ice machine, then luckily we’re here to help make sure you don’t fail a health inspection by not having cool clean ice making machines fit for professional usage.
It’s important to keep your ice machine clean, especially if it’s not been used for a long time, or it’s a brand new unit.
Cool and clean ice should be standard in any business that relies on cold drinks to turn a profit, but the cleaning process itself can be made simple by utilising a few key products to remove any built up dirt and grime.
Why you need to clean an ice machine
If your business relies on food or drink as a core product, then every single utensil or piece of equipment you use must meet regulatory standards to ensure that you meet the minimum hygiene requirement as set by British law.
Any part of an ice machine that has contact with water can develop scale, slime or mould at any time and you will be surprised at just how quickly this can happen. This build up of grime, dirt, scale and slime will contaminate your ice and therefore potentially harm your paying customers.
Prevention is always cheaper than the cure, and so we recommend that your ice machine gets a deep clean at least once every six months to keep things clean and ensure efficient operation.
Equipment
- Rubber gloves
- Cleaning solution
- Sanitising Solution
- Nylon brushes
- Sponges / Cloths
- Bucket
Method
How to clean an ice machine
- Open the front door to access the main evaporator compartment and remove all ice.
- Remove all ice from the bin or the dispenser.
- Use the inbuilt ‘clean’ or ‘wash’ cycle. This will cause water to flow through the water dump valve and down into your drainage system. Your machine will indicate once it is typically ready to add cleaning chemicals which will usually take around a minute.
- A full cleaning cycle can take anywhere from 15 to 30 minutes depending on the model of machine you have. Once the cycle is complete, disconnect your ice machine from the power.
- At this point, you may need to refer to your ice machine manual to remove parts for deep cleaning.
- Mix a solution of cleaner and lukewarm water in a bucket. As a general rule, one litre of water is needed for 100ml of cleaning fluid, but each machine may vary so please refer to your manual for exact measurements.
- Use approximately half of the mixture you have created to soak each part you previously removed from your ice machine and use a soft bristle nylon brush, sponge or cloth to carefully clean all parts thoroughly. Rinse all cleaned parts with clean water.
- Whilst these parts are soaking, use the other half of the cleaning solution mixture to clean all food zone surfaces of the ice machine, cube bin and dispenser. Use a nylon brush or sponge to clean the side walls, base, evaporator plastic parts, bin and dispenser.
- Once scrubbed, rinse all areas with clean water until the cleaning solution has been removed.
How to sanitise an ice machine
- Mix a solution of ice machine sanitiser and lukewarm water, you may need to refer to your ice machine manual for correct ratios of water to sanitiser. Generally, though, 10 litres of water is needed for 50ml of santiser.
- Use one-half of the water and santiser solution to sanitise all of the parts removed during the cleaning process, simply use a spray bottle to coat each portion of your ice machine or soak them before reattaching. Remember you DO NOT need to rinse with water after sanitising.
- Spray all other food zone areas such as the ice trays, bin and dispensers to protect from germs.
- Replace all removed parts and then wait around 20 minutes for the sanitiser to thoroughly work it’s magic.
- Plug your ice machine back into a power source and use the inbuilt ‘clean’ or ‘wash’ button. This will cause water to flow through the water dump valve and down into your drainage system. Your machine will indicate once it is typically ready to add the sanitiser which will usually take around a minute.
- Set your machine to automatically begin making ice after the sanitising process.
Cleaning the outside of your ice machine
- Sanitising wipes are ideal for keeping your machine clean and germ-free during operation.
- Wipe down your machine surfaces regularly and remove any greasy residue or excess water that prevails.
Cleaning the condenser and filter
An important portion of the ice machine is the condenser unit, the washable filter also needs to be cleaned as this traps dust, dirt, lint and grease during day-to-day operation.
Cleaning the filter is as simple as rinsing under warm soapy water.
The condenser needs to be washed as a lack of airflow causes much higher operating temperatures, shortening unit life and reduces the amount of ice produced.
A quick clean every 6 months ensures that your machine will continue to serve you well.
- Disconnect your ice machine from the power source before attempting to clean the condenser.
- Using a torch, check for dirt between the fins. NOTE: These fins can be sharp, so proceed with caution.
- Blow compressed air through your condenser to remove any dust and dirt build up that has accrued.
- If dirt issues still persist, you may need to contact a service agent to have the problem rectified.
Now you have a clean ice machine, you can go back to making super cocktails and cold drinks without fear of contamination.
This guide also works for ice flakers, ice shavers and standard ice machines.